


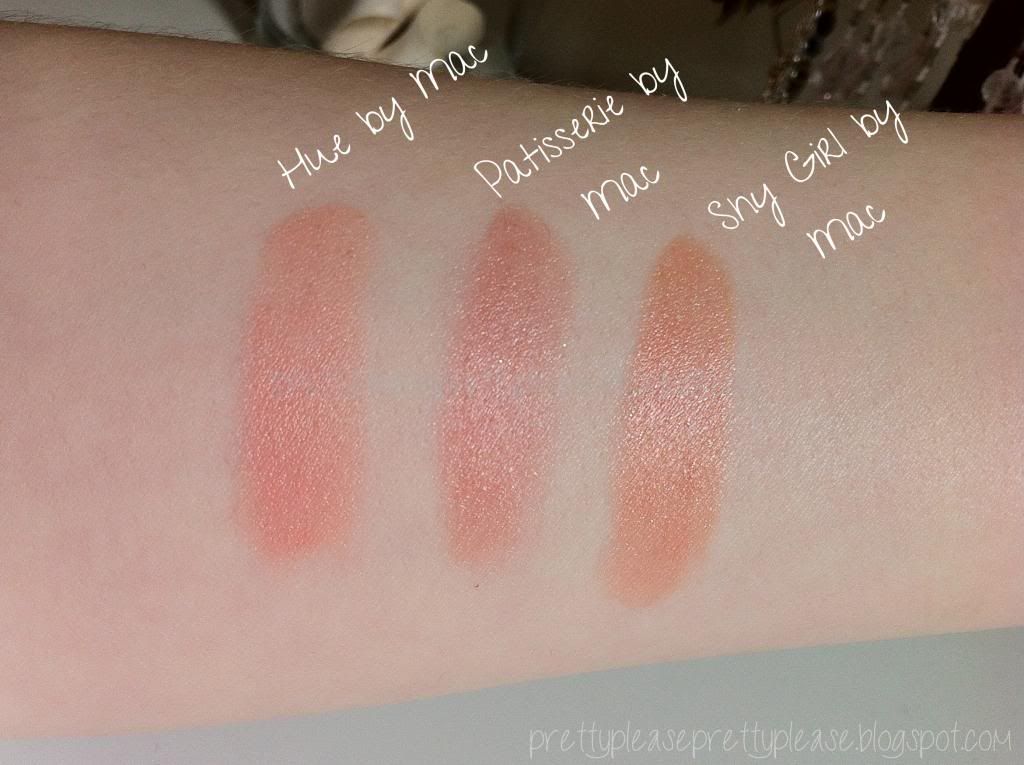
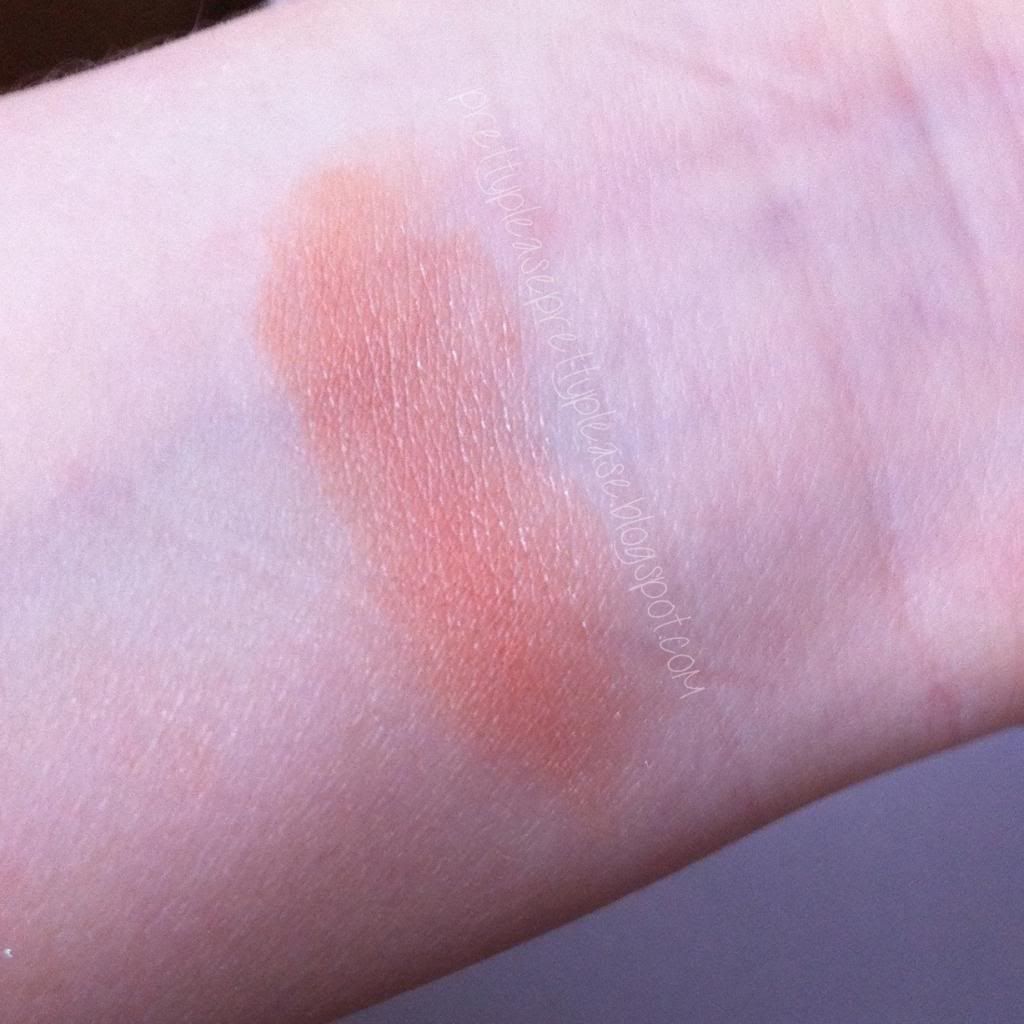
Swatches in natural daylight, left to right: Hue, Patisserie, Shy Girl
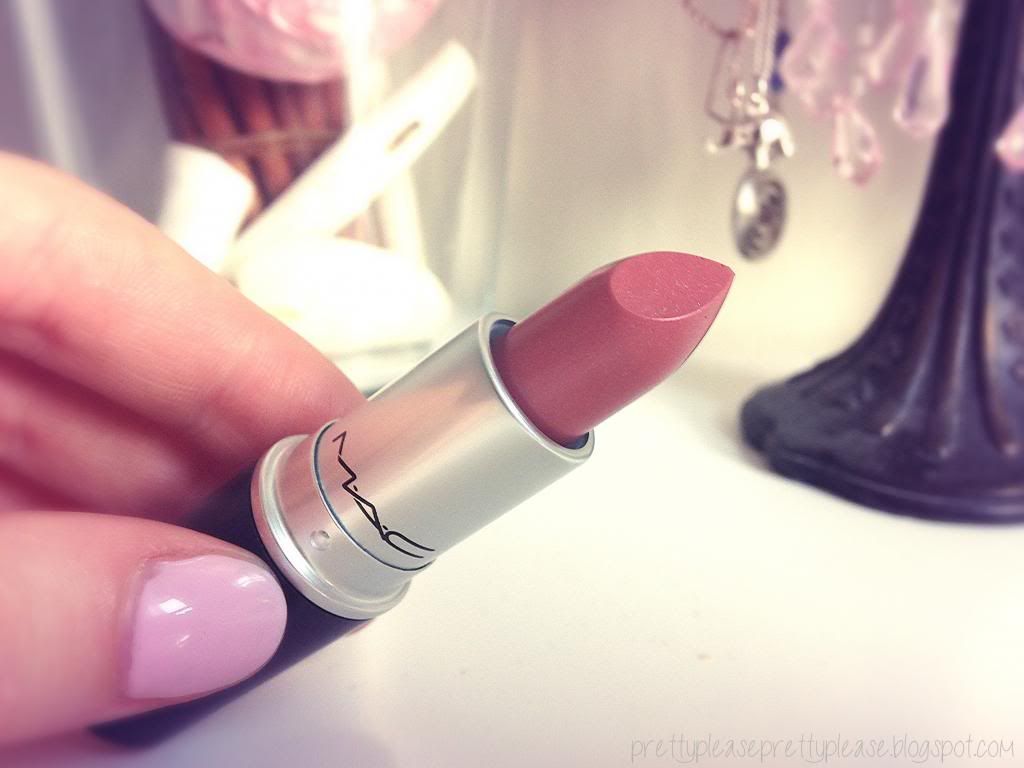
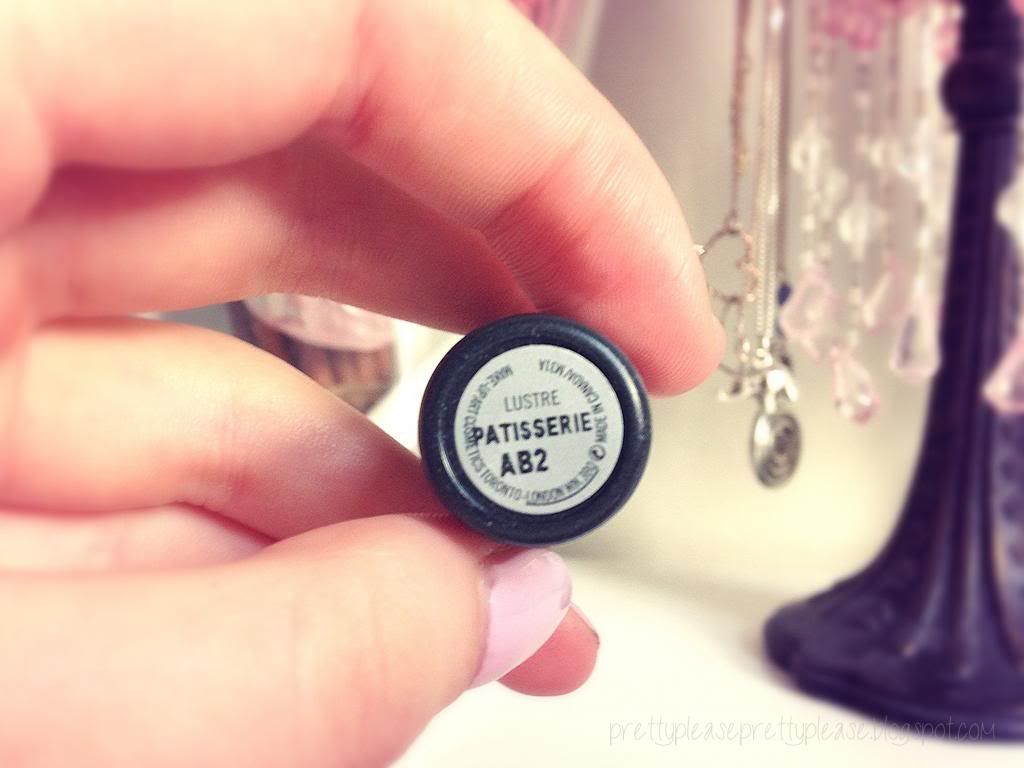
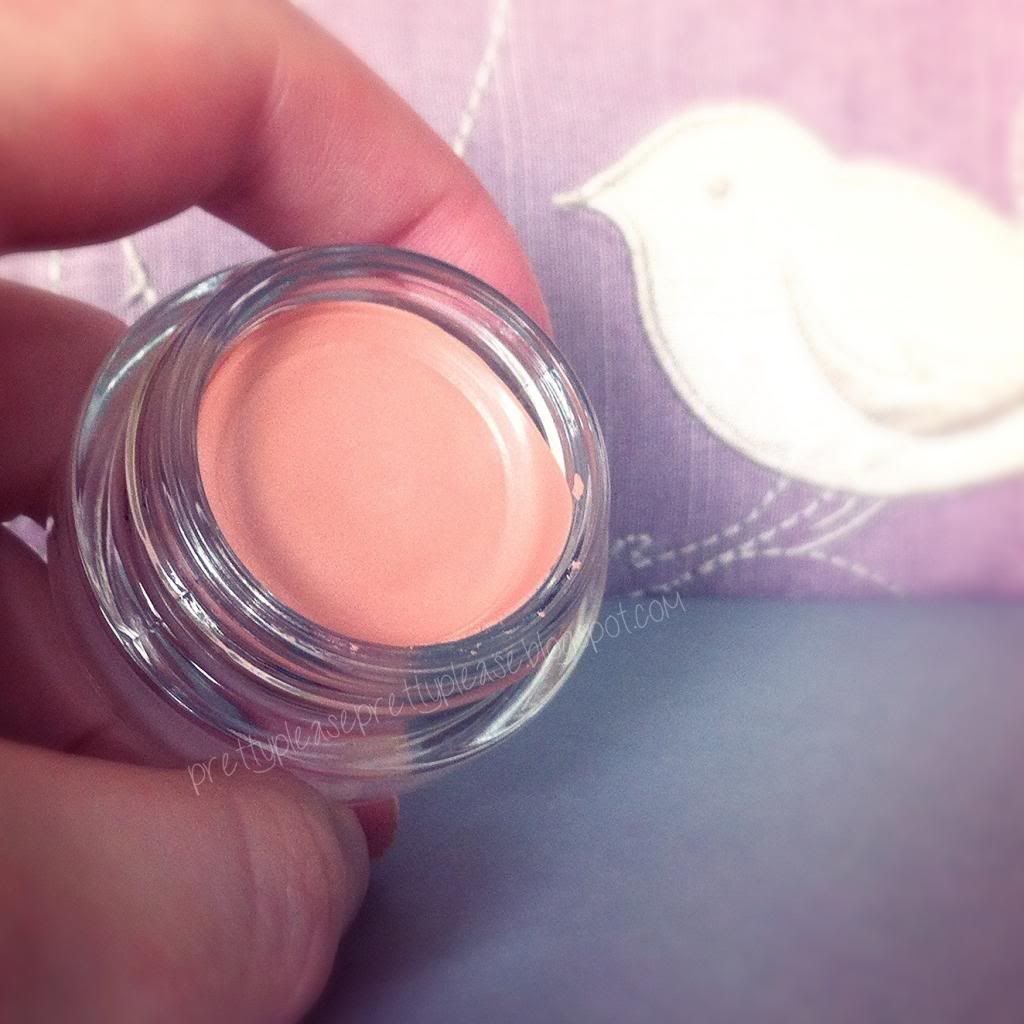
Patisserie by Mac is a Cremesheen finish, which means that it’s not too thick and also quite moisturising with a slightly glossy finish, though I’d describe it as more of a sheen, but being a Mac lipstick it’s still well pigmented. It also has a little bit of shimmer running through it that is barely noticeable on the lips. Patisserie is one of the shades I’ve heard a bit about in the blogosphere and I knew I just had to try it. The shade is a mid-toned peachy pink with a tiny hint of brown in it. On my pale skin it’s a “my-lips-but-better” shade, and so I’d imagine that it would be a pretty universal nude colour - not too warm or cool toned!
As you can see I put swatches next to Hue by Mac which is my favourite nude colour. It’s a little paler and more pinky than Patisserie, and also Shy Girl by Mac which is a much more of an orangey peach. I wouldn't say that compared to the swatches Patisserie definitely is that orangey at all, but that it’s the perfect pinky peachy blend for your lips.
What do you think of this shade?

Follow me on Bloglovin • Follow me on Twitter
P.S. If you haven't already I'd love it if you could nominate for me as Best New Beauty Blog (scroll to the bottom of the page and click 'Next Page' to bring up the nominations form) or the Newcomer Blog Award (sponsored by Next) in the Cosmo Blog Awards - only if you enjoy my blog, of course! Nominations end in just a couple of days.


Popular Posts
-
 All swatches taken in natural daylight It's been a while since I did a lipstick post and you guys seemed to be quite enjoying the...
 -
Swatches in natural daylight, left to right: Hue, Patisserie, Shy Girl Let’s talk lipstick. Lucky little old me per chance happene...
-
 Kryolan TV Paint Sticks have been hugely famous in lots of parts of the world especially Asia. Kryolan makes Professional and theatrical Mak...
 -
 Yet another pretty palette from Sleek...the Good Girl palette was launched along with the Bad Girl palette as a limited edition. As the Bad ...
 -
 ( All the information, pictures of products and swatches are original and a copyright property of Makeup Obsessed Beauty) Due to so many req...
 -
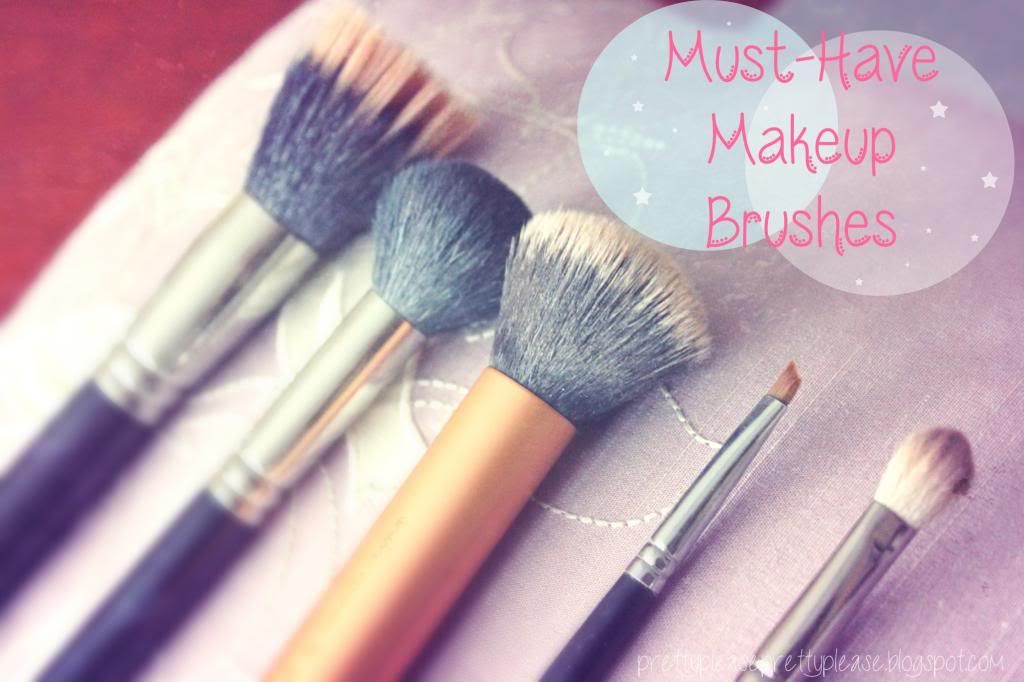
 When you have so many brushes it does become difficult to store them. The first idea that comes into mind is a cup or a pencil holder to...
 -
Right after product is rubbed in It’s no secret that I’m pretty pale, and so quite often in the summer I like to give my skin a little b...
-
 Today is a bit of a spontaneous post (my favourite kind!). I was having a trawl through some blog pictures on my computer, and si...
 -
All swatches (on arm and lips) taken in natural daylight I purchased Dubonnet by Mac a few months ago for a photoshoot that I did t...
-
 As everyone knows that Sleek Makeup blushes are my all time favourite drug store blushes but I was more than excited when I found out about ...


